Starting from FunKey S
I love tiny handhelds, and I've owned a FunKey S: a keychain-sized, open-source clamshell. This project started with a simple question: what if it were a bit wider, with a screen on each half?
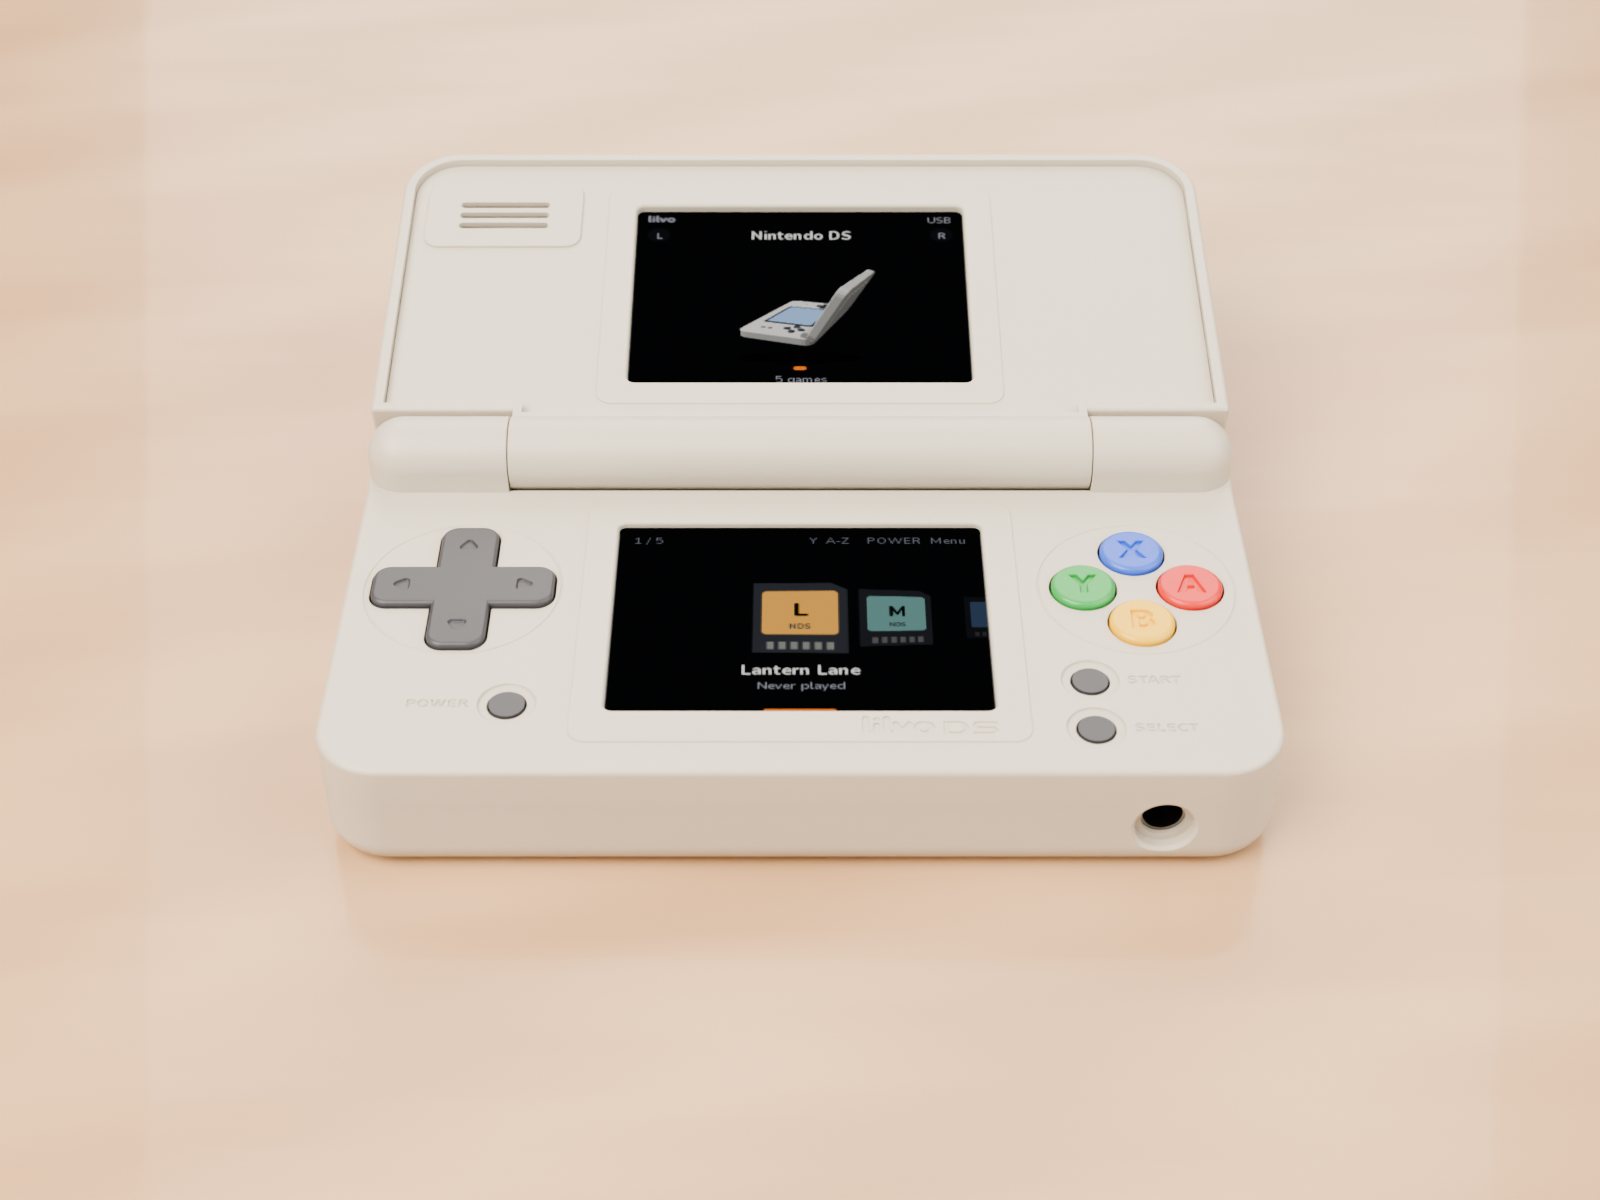
Priorities
From day one the order was: size, then battery life, then two screens, then 2D games at full speed, then everything else. Every trade-off since has been decided by that list.
The first big change
My first plan used a quad-core chip with a small FPGA to split one video output across two screens. It worked on paper and was far too complicated for one person. I switched to a simpler chip that drives each screen directly over SPI, the same way FunKey S drives its one screen. No FPGA, far fewer wires through the hinge, and a board I could realistically get made.
What it borrows from FunKey S
- The button stack and button-reading chip.
- Side-mounted shoulder buttons.
- A flexible cable wound around the hinge pin.
- Close the lid to save and power off.
The boards, enclosure and software are new. FunKey S is credited, and its non-commercial terms are kept wherever its parts are reused.
A month of iterations
By the end of September the enclosure had gone through about ten versions, each one 3D-printed or checked in a viewer for collisions. The first main board design was reviewed by a paid human expert before anything was ordered. I don't know much about hardware, so I lean on reviews and on testing everything I can.